I’ve wanted to try ZimaOS since I first saw it a while back and have been keeping up on it’s progress.  I’ve used CasaOS in the past, and liked it. However, until now I didn’t really have a use for it yet. My 7 year old (discontinued), 4 x 2TB disk,  Synology NAS running RAID 5 (5.22TB usable storage) was still humming along, but it was getting a little long in the tooth. So I got the bright idea that I’d buy some drives, USB HDD enclosuers, and build my own NAS set up and ZimaOS seemed like the perfect, no nonsense solultion.

I liked the ease at which I could access my ZimaOS set up from anywhere, wanted to run Jellyfin to back up my music, and I’d already determined that I was going to Tailscale it instead of using thier internal solution. 

I was also trying to do this somewhat on the cheap without needing to buy a $500-$600+ 4-bay NAS device + the cost of the drives for an N100 processor, and a few gigs of RAM.

Some of you reading this already know where I went wrong, but it took me 2 days to figure out. However I was able to still salvage things, run ZimaOS using the gear I’d set aside for it, and still create a backup scenario for my data.

How it started

I got this bright idea because I already had 2 x 4TB Seagate HDDs that I’ve never done anythng with. I originally thought I was going to increase the storage of my Synnology NAS, but that seemed silly considering it’s age and limited resources.

I also already had: 

Thinking I could get 2 more identical drives to run a RAID 5 I puchased:

  • 2 more Seagate 4TB HDDs
  • 3 x Cenmate Dual Bay Hard Drive Enclosures  for 2.5“/3.5″ SATA HDD/SSD with USB A/C 3.0, Support Hot Swappable, Daisy Chain Expansion. I read the reviews, and saw that one of the reviewer’s was daisy chaining a dozen or more and thought…or rather assumed…that he was running some sort of RAID. 
So off I went. Got the drive bays set up, and installed ZimaOS on the Beelink. 

ZimaOS would not let me create a RAID

ZimaOS installed just fine and the UI looked like I expected. It even saw the drives. However, it would not let me create a RAID. I could only access them as individual drives. 

I spent all day Saturday trying all the troubleshooting I could find. Mounting the drives, unmounting the drives, formatting the drives, unformatting the drives. Nothing worked. 

ZimaOS Raid Settings

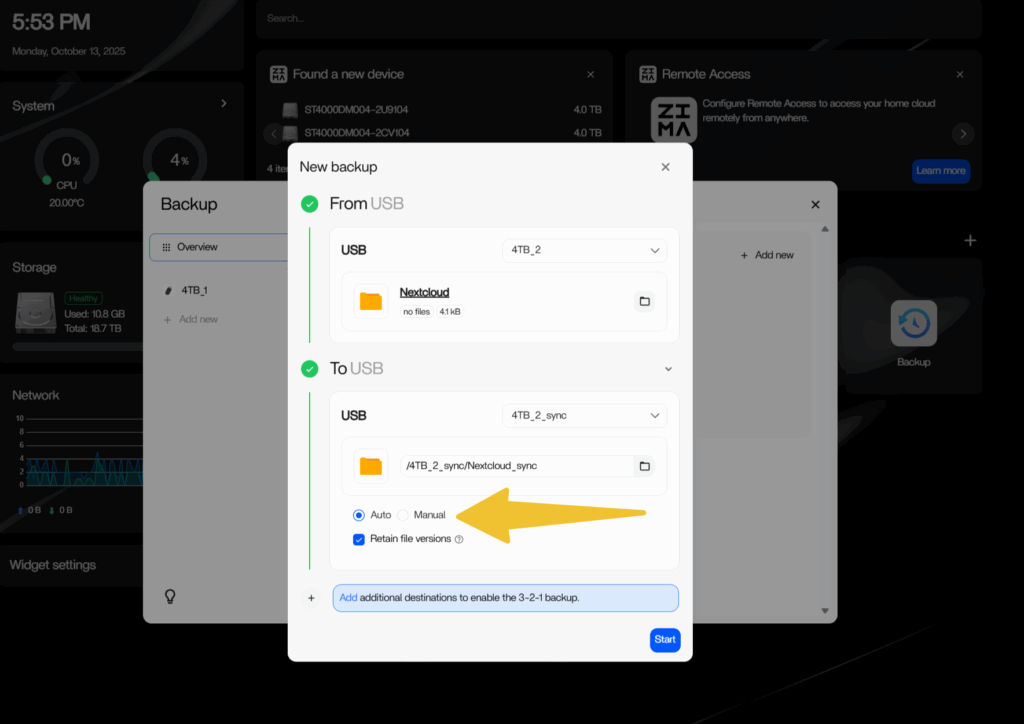
Turns out the drives needs to be internal in order to create a RAID 😖. Crap! I think I knew that but also knew that you could do it with a different software and assumed it was possible with ZimaOS too. 

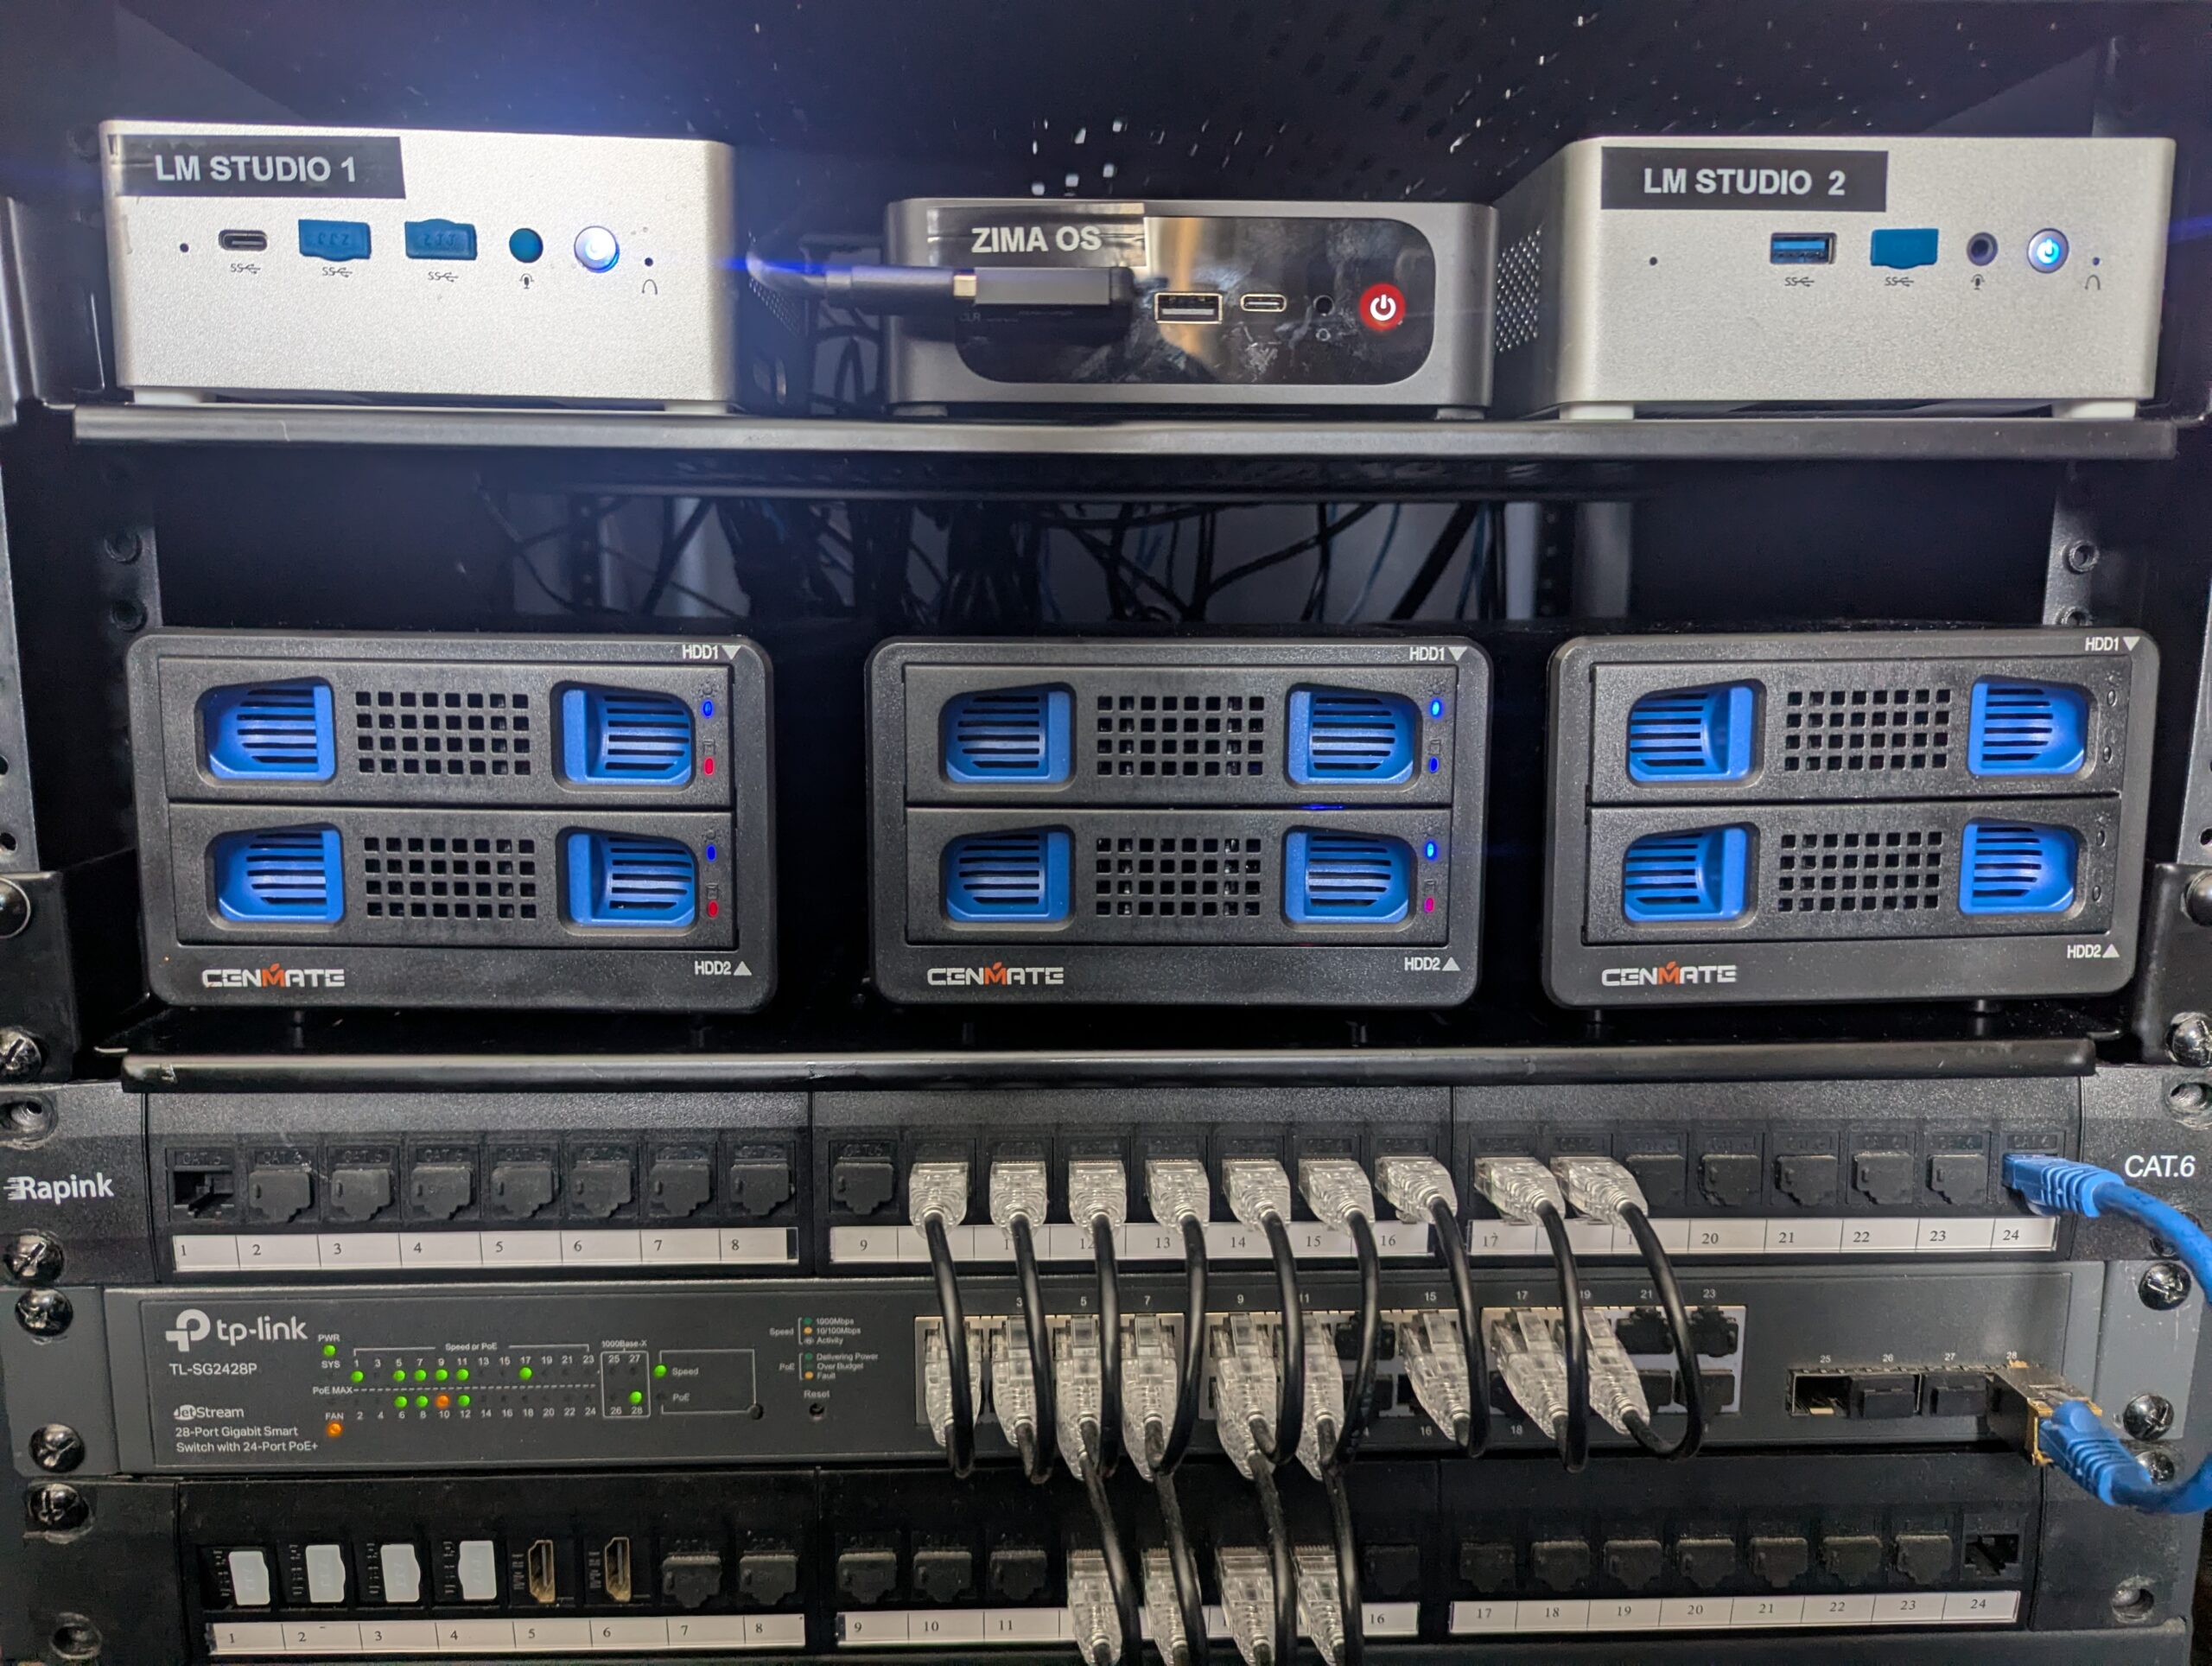
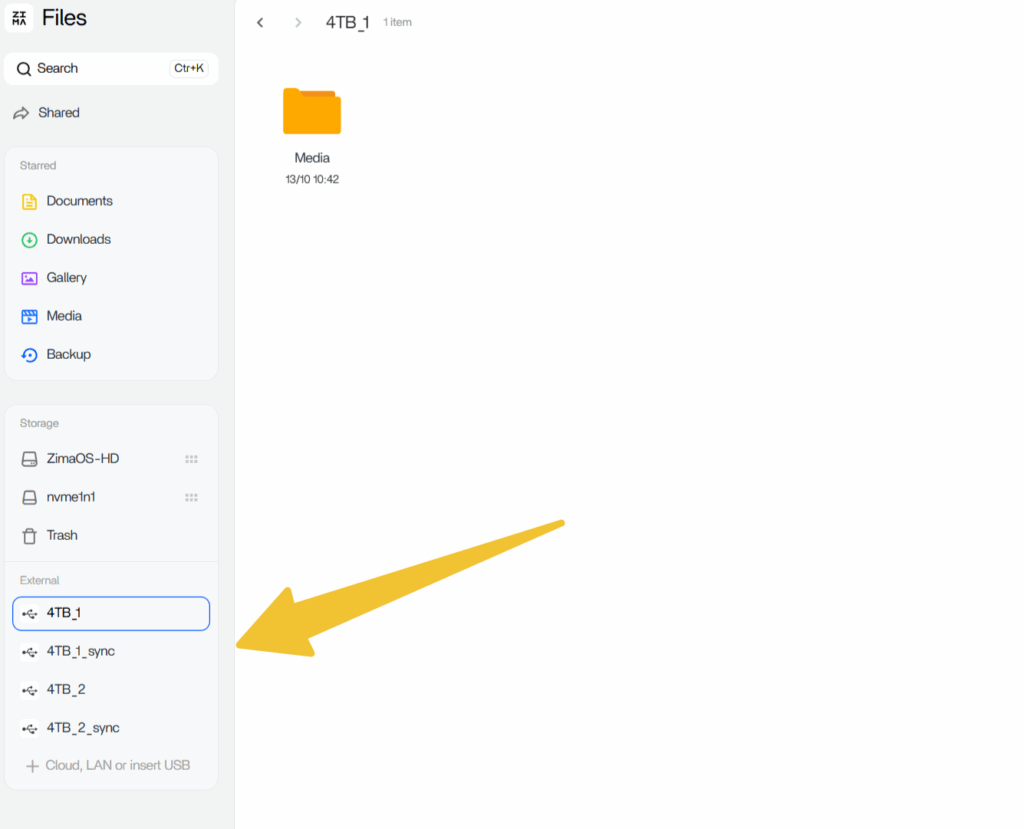
 Now I’m sitting here with all this stuff that I just purchased that won’t do what I wanted. Upon further reading, external drives across multiple USB connected drive bays is a risky way to create a RAID (which makes sense now), so this entire project was doomed from the start.

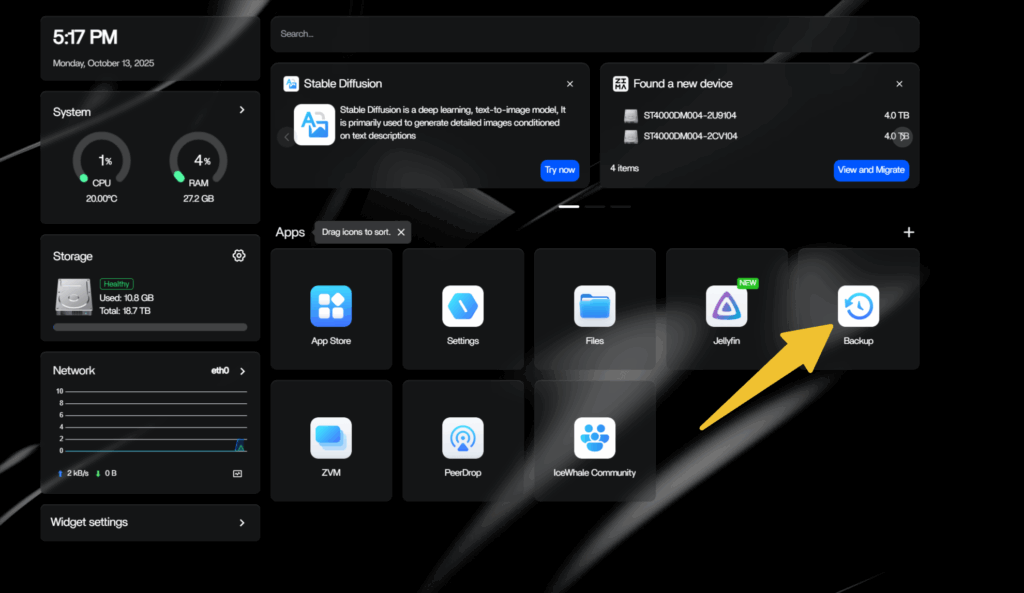
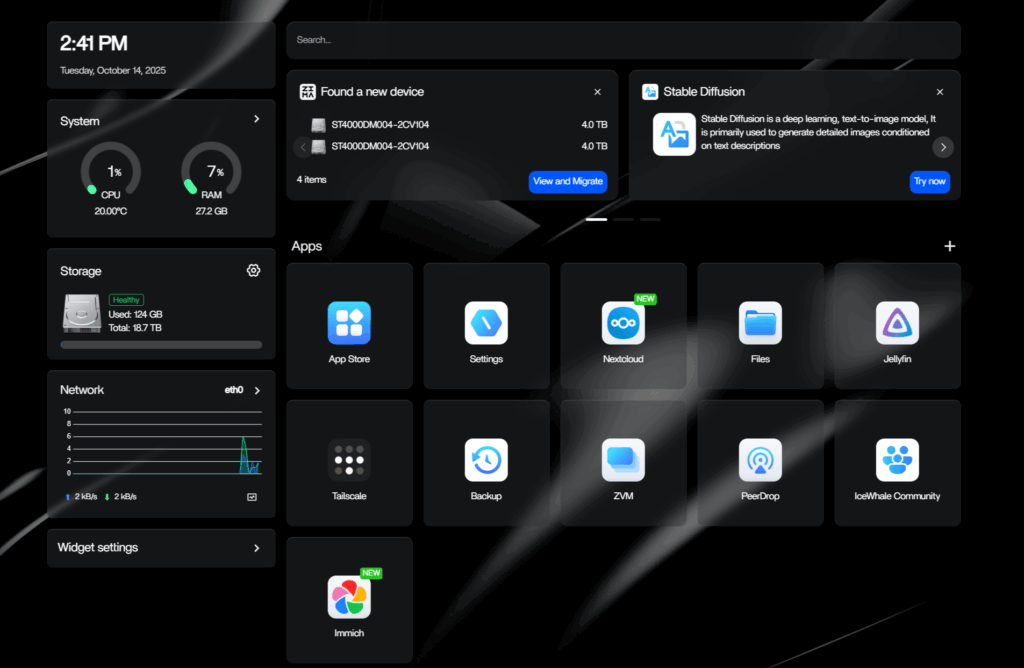
TrueNAS was an option and I have used it before but really had no interest in using it for this. OpenMedia vault was also suggested, but it didn’t have the features I wanted. I really wanted to use ZimaOS for what I thought was it’s simplicity. 

I like home labbing and self hosting but I’m not trying to recreate a SysAdmin workspace in my home office.  There are times when I want to challenge myself, learn new things and tinker with granular control of every microscopic option and setting, and then there are times where I just want “simple”. This was one of those times where I wanted simple and I was determined to go down whatever rabbit hole would let me create this simplicity 😕

I tried to find a workaround

Knowing that trying to create a RAID across 2 different USB external drive bays was a bad idea, and I didn’t want to use TrueNAS, I started brainstorming. 

Installing mdadm

What if I created a RAID 1 scenario per enclosure? 

				
					/dev/sda → Enclosure #1 RAID1 (4TB)
/dev/sdb → Enclosure #2 RAID1 (4TB)


Then ZimaOS could see the storage pools, I’d have redundancy, and I wouldn’t be trying to create a RAID across external USB drive enclosuers.

However, in order to do that I had to install mdadm. Unfortunately that was a no-go because ZimaOS, even though it’s built on Debian doesn’t have APT (and you cannot install it) which means I cannot install anything on top of the OS and had no interest in “jail breaking” it.  This was supposed to be simple. 

What about running a seperate Debian container? 

Then I put it to ChatGPT which recommended running a Debian container, creating the RAID that way, but that means the Debian container would need to always be running, and ZimaOS still wouldn’t see the drives. I would have to manage them inside the Debian container which just adds complication, and defeats the purpose of using ZimaOS.

I decided against that too. 

Instead of RAID I created backup mirrors

Turns out the answer to saving this project was staring at me the entire time on the ZimaOS dashboard. The preinstalled Backup app.

I could mirror 2 drives per enclosuer.  It would give me 2 x 4TB storage pools, with the top drive backed up to the bottom drive in the enclosuer. So that’s exactly what I did. 

ZimaOS backup

How to set up drive mirroring

To set it up, first you need to create folders inside of the drives you want to mirror so that you have a source and destination.

  1. Inside Drive-1 (enclosuer-1) I created a “Media” folder
  2. Inside Drive-2 (enclosuer-1) I created a “Media sync” folder
  3. Then open the Backup app and choose your source, for me that was the Drive-1 Media folder
  4. Then choose your destination, for me that was Drive-2 Media Sync.
  5. Make sure “Automatic” is set.
  6. Save. Done.
(Picture below is a screenshot of creating my Nextcloud mirror
ZimaOS Backup Sync

Repeat this process for the other 2 drives in your second enclosuer, name them whatever you want
It’s not perfect, and not exactly a RAID but it gives me 8TB of storage, divided up as 2 individual 4TB mirrored storage pools so that I have some redundancy.

EnclosureDisk 1Disk 2Role
#14 TB main4 TB backupZima Backup → Mirror
#24 TB main4 TB backupZima Backup → Mirror

Renaming your ZimaOS drives

When I finally found a solution, the default name of the drives was driving me crazy. Figured I’d toss that in here too.

In order to change them you first need to unmount them. Then either use the web based terminal under the Developer Options (Settings->General->Developer), or SSH into your ZimaOS installation. 

				
					//List your drives and identify the ones you want to rename 
lsblk

//Unmount the drives you want to rename
sudo umount /mnt/drive_name1
sudo umount /mnt/drive_name2
sudo umount /mnt/drive_name3
sudo umount /mnt/drive_name4

//Then change each of those drive names
sudo e2label /dev/drive_name1 "new_name1"
sudo e2label /dev/drive_name2 "new_name2"
sudo e2label /dev/drive_name3 "new_name3"
sudo e2label /dev/drive_name4 "new_name4"

//Then remount each drive
sudo mount /dev/drive_name1 /mnt/"new_name1"
sudo mount /dev/drive_name2 /mnt/"new_name2"
sudo mount /dev/drive_name3 /mnt/"new_name3"
sudo mount /dev/drive_name4 /mnt/"new_name4"


ZimaOS backup sync 2

The 3rd USB drive bay is already plugged in and connected waiting for new drives. I’ll probably add another storage pool, maybe larger drives or use it for external storage on another device.

Final word

For those wondering why I didn’t just install ZimaOS on the Synnology and just upgrade the drives?  Seemed like a waste considering how old the hardware, and how low the specs were. I didn’t think the performance would make it worth the effort. 

You also may have deduced that the Beelink has 2 additional M.2 slots. I could just put in 2 x 4TB M.2 drives and do a RAID 1, but those are pretty costly, I already have these drives, and atm I have 10TB of storage. Why would I want to go down to 4TB for more money? 

Hope this helped someone who was struggling with a simular scenario, or this at least sparked some ideas to solve your issue another way. 

ZimaOS dashboard